
Transplanting calla lilies, those elegant plants with white or colored spathes that enchant gardens, is often a delicate operation. Successfully moving these specimens requires an understanding of their life cycle and optimal growing conditions. Timing plays a fundamental role in this process. Moving a calla lily at the wrong time can compromise its survival and blooming. Identifying the right period, which respects the plant’s dormancy and prepares the ground for vigorous recovery, is essential to ensure the continuity of the brilliance and health of these queens of the garden.
Choosing the Ideal Time for Transplanting Calla Lilies
Find the ideal season for transplanting plants, particularly your calla lilies. These plants, known for their trumpet-shaped flowers, require special attention when it comes to choosing the right timing for successful relocation. Autumn, and more specifically late summer, is often cited as the time to move a calla lily. This period is characterized by milder temperatures and humidity favorable for root recovery, without the excessive stress of summer heat or winter frost.
For gardeners who may not have the opportunity to operate during this period, early spring proves to be a possible alternative for moving a calla lily. Although recovery may be slower, the absence of intense heat and the natural resumption of the plant growth cycle in spring also favor transplantation. Keep in mind that the move should be done before the onset of active growth to limit the shock experienced by the plant.
The autumn ideal season for successful calla lily transplantation is not a myth. The mild air and cool soil provide optimal conditions for the plant to adapt smoothly to its new location. Savvy gardeners therefore plan their transplantations considering these strategic periods to ensure vigorous recovery and abundant blooming in the following seasons.
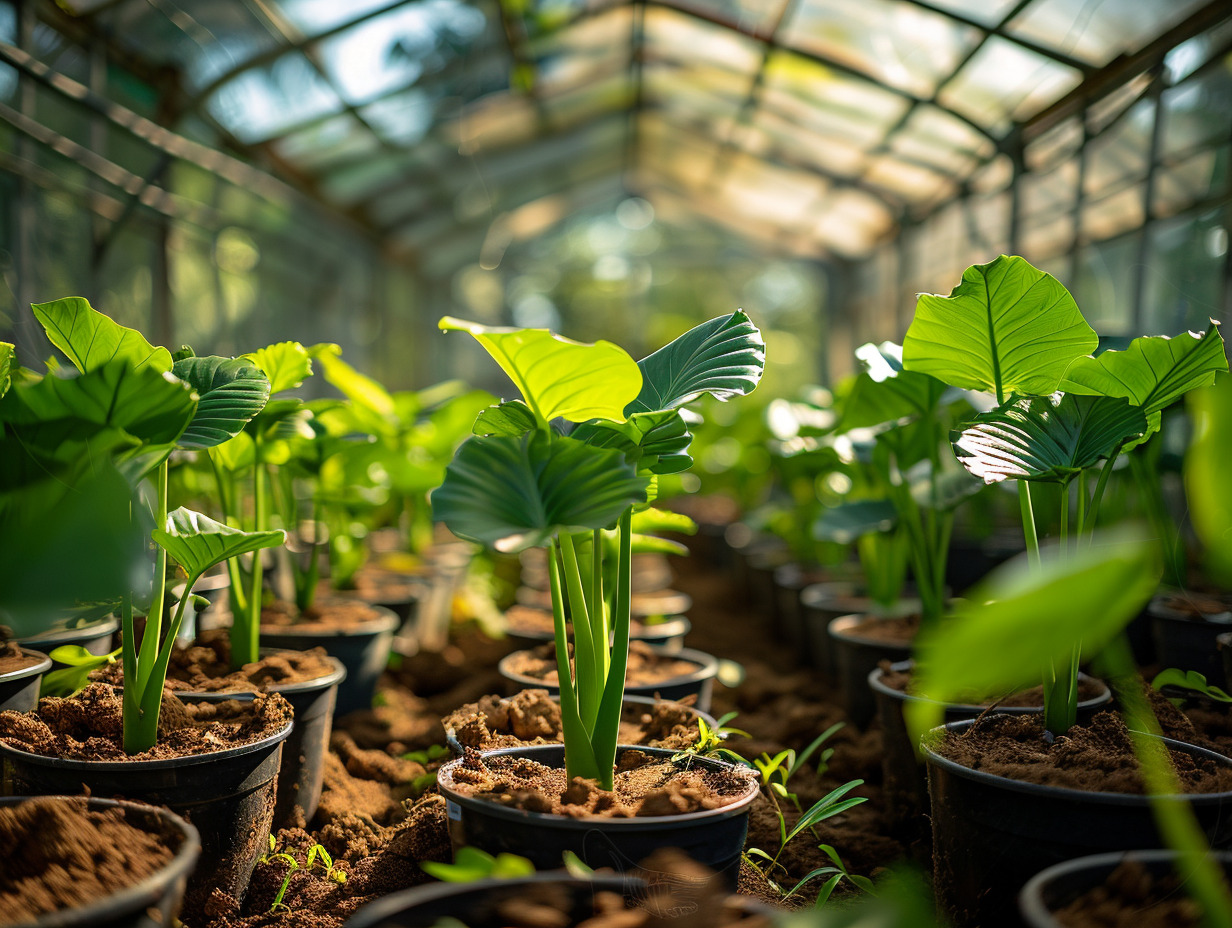
Key Steps for Successfully Moving Your Calla Lilies
Before diving a spade into the ground, plan the future location of your calla lily. This first step, often overlooked, conditions the recovery of the plant. Ensure that the soil is rich and well-drained, that there is enough space to accommodate the future development of the calla lily, and that the exposure is adequate. Once the location is chosen, amend the soil if necessary and dig a welcoming hole, anticipating the plant’s needs.
The act of digging up the calla lily requires tact and precision. The roots of the calla lily are delicate and do not tolerate improvisation. Use a garden fork to gently lift the plant, being careful not to damage the roots. A generous margin around the rhizome is advisable to keep as many roots intact as possible. These precautions help minimize the shock of the move and promote better recovery.
The final step, but by no means the least, is replanting. Position the calla lily at the same depth it occupied in its previous location. A calla lily planted too deeply may struggle to develop properly. Once in the ground, lightly firm the soil and water generously to eliminate air pockets and ensure good contact between the roots and the soil. Mulching can be beneficial to maintain moisture and temper temperature fluctuations. These careful actions are the guarantee of a successful transplantation.